The fastest way, with no actual 'downloads' as such, is to simply activate OEM Backgrounds.
Go to Start -> Run -> Regedit.exe -> HKEY_LOCAL_MACHINE -> Software -> Microsoft -> Windows -> Current Version -> Authentication -> LogonUI -> Backgrounds.
now, theres a DWORD Entry called OEMBackground. Right-click and select modify. Change the 'Value Data' to 1 (default 0). It should look like this now:
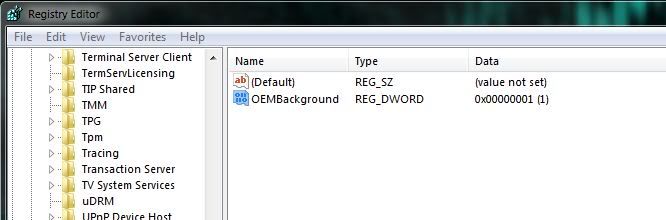
OEM Backgrounds are now enabled on your computer. Companies put this in their OEM systems, so that their logon or something similar appears on the logon screen instead of the Windows 7 image.
Now, obviously you need to select the image you want. It MUST be 256KB or smaller, and in JPEG format.
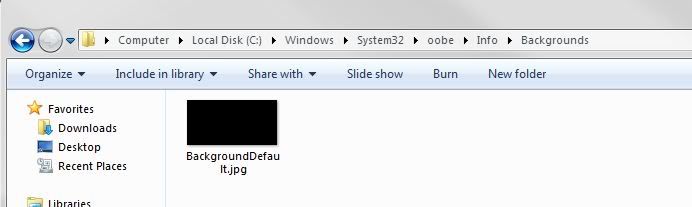
go to: %systemroot%\System32\oobe
look for a directory called Info, if it is not there, create it by simply making a new folder and calling it 'Info'. Inside this directory, make another directory called Backgrounds.
(note, this works best if the image you choose is the same size as your monitor, so 1920x1080 for mine)
Now, rename your chosen image to "BackgroundDefault.jpg" and insert it into the Backgrounds folder that you just made. You should see something that conforms to this:
If you did everything right, if you log out, you should see your logon screen has changed.
File Download: http://windows7center.com/wp-content/downloads/W7C_Custom_Login_Background_Registry_Tweak.rar
No comments:
Post a Comment